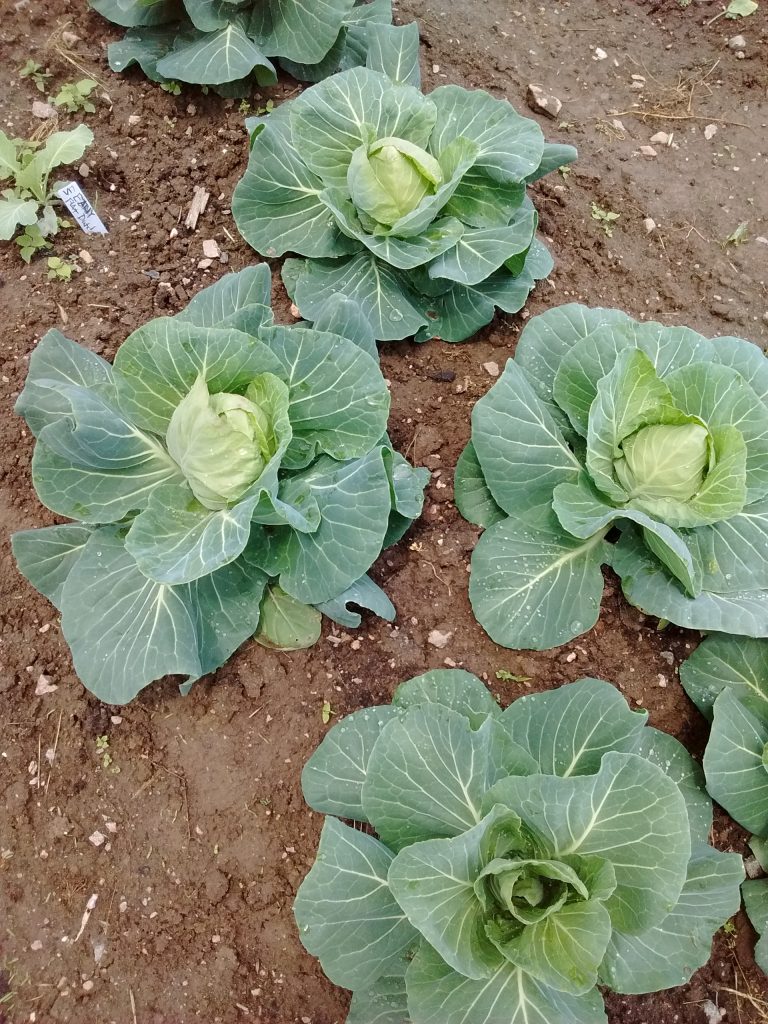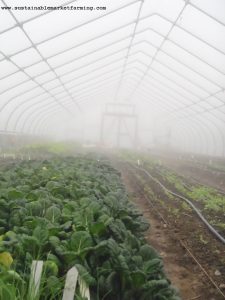
Photo Pam Dawling
Some of this material is from my book Sustainable Market Farming.
Cabbages can be reliable workhorses, providing large harvests over long periods. In colder regions, cabbages are planted only in the spring and grow all summer, into the fall and winter, until cold weather kills them. In the South, they are a spring/early summer and a fall/overwintered crop, as it’s too hot to grow them in the summer. In parts of California and the Pacific Northwest, they’ll grow year-round.
Cabbage crop requirements
Cabbages do best on fertile, well-drained soil with adequate moisture. They require a lot of potassium, so a sprinkling of wood ash, kelp meal or granite dust could be helpful. Calcium, boron, iron, manganese and molybdenum are also important for good brassica crops — healthy, biologically active soils can usually supply enough of all these. If not, amend as needed.

Photo Pam Dawling
Cabbage varieties
Be clear about what kind of cabbage you are looking for, especially whether it’s for fresh eating, slaw, sauerkraut or storage, and what size you want and how many days from seeding to harvest.
- For quick-maturing cabbage, we choose Early Jersey Wakefield (63d OP), Golden Acre (62d OP) and Farao (64d F1) (All days to maturity in this list are from transplanting in spring. Add 14 days for direct sowing. Subtract 10-14 days for warm weather sowings.)
- For large solid cabbage for making sauerkraut, we choose Gunma (110d F1), Tribute (103d F1) or Early Flat Dutch (85d OP)
- For a green cabbage that holds well in hot weather, to extend the season as long as possible, the flat Tendersweet (71d F1) is tasty and works well for us. It is good for coleslaw and wraps, but not for storage
- We like a red that’s fairly large and yet quick-maturing (many reds are too slow for us, taking us deep into hot weather). We used to favor Super Red 80 (73d), but gave it up after two poor years. Ruby Perfection (85d F1) stores fairly well, as does Integro (85d F1)
- We like savoy cabbage, and find Melissa (85d F1) and Famosa (80d F1) quick and reliable
- For storage we have liked Storage #4 (95d F1), Kaitlyn (94d F1), and Late Flat Dutch (100d OP)
- Deadon (105d F1) is a particularly cold-hardy one to grow into the winter. It survives down to at least 10°F (-12°C)
- High Mowing and Johnny’s Seeds have good selections of over twenty cabbage varieties, including the 77d 10-17 lb (4.5-7.7 k) Megaton, good for fresh eating and kraut.
Sowing cabbage seed

Photo Pam Dawling
In early spring, transplants have the advantage over direct-seeded crops — they grow faster under protected conditions and bring earlier harvests. At other times of year, you may prefer to direct seed.
Work back from your desired harvest date to calculate the sowing date. Naturally you’ll need to allow for your climate and choose a realistic transplanting date. We start our very first cabbages in our greenhouse in mid–late January, as soon as I’m mentally prepared to start a whole new year. Maincrop cabbage follows in mid-February.
Despite being a cool-weather crop, brassicas actually germinate very well at high temperatures: the ideal is 77°F–85°F (25°C–30°C), and 95°F (35°C) is still OK. Given enough water, the seedlings will emerge in four and a half days at the low end of this range, and at the top in only three days. The minimum temperature for good germination is 40°F (4.5°C), but you’ll need to wait more than two weeks for emergence if it’s that chilly.
We start our spring cabbages in home-made open wood flats, sowing 3–4 seeds per inch (5–10 mm apart). We press a plastic ruler 0.25″ (6 mm) deep into the seed compost to make a small furrow, spacing the rows 2″–3″ (5 cm) apart.
Once they have emerged, the seedlings need good light, nutrients, airflow and protection from bugs. 60°F–70°F (15°C–21°C) is a good temperature range for growing them. As soon as the seed leaves are fully open, we spot (prick) them out to 4″ (10 cm) deep flats, with 40 plants per 12″ x 24″ (30 x 60 cm) flat. The plants grow to transplanting size in these flats.

Photo Wren Vile
For the last two weeks before transplanting, harden off the plants by moving them into cooler, breezier, brighter conditions.
Transplanting cabbage
We grow spring cabbage in 4′ (1.2 m) beds, at two rows per bed, with plants 18″ (50 cm) apart. Mini-cabbages can be spaced at 8″–12″ (20–30 cm) in the row, with rows 12″–18″ (30–45 cm) apart, and may give higher total yields as well as heads of a more useful size.
We aim to transplant at four true leaves (5–8 weeks after sowing in spring). This is early to mid-March for the earliest cabbage (seven weeks old), very early April for maincrop cabbage. Soil temperatures of 65°F–75°F (18°C–24°C) are ideal. Optimal air temperatures for most brassicas are 60°F–65°F (15°C–18°C).
Water the seedlings well before transplanting, and plant all the way up to the base of the first true leaves to give the stem good support. Press the soil very firmly around the plants so the roots have good soil contact and won’t die in an air pocket. I was taught to tug on a leaf after transplanting: if well planted the leaf will tear and the plant will remain in the ground. Water within half an hour of planting and again on the third and seventh days, and then once a week.

For cabbage, the sixth and seventh leaf stage is the most vulnerable. If the weather deteriorates at this critical time, give your plants extra protection. High daytime temperatures can to some extent compensate for low nighttime temperatures — it’s cold days and cold nights together that do the damage. We use thick rowcover over our spring cabbages for a few weeks after transplanting, then may switch to insect netting.
Two weeks after transplanting, we check the plants and fill the gaps with transplants we have kept for this. If it is necessary to use big plants to fill gaps, we pinch off a few of the lower leaves to reduce their water needs.
Caring for cabbage in spring and summer
About a month after transplanting maincrop cabbage (mid-May), we remove the rowcovers and the sticks we use to hold them down.
We use only overhead sprinkler irrigation (not drip tape) for spring cabbage, which helps cool the leaves and can wash off aphids. Organic mulches help keep the soil cool, as well as adding lots of organic matter to the soil. Brassica roots are relatively shallow, so long droughty spells without irrigation can cause problems. One inch (2.5 cm) of water per week is about right.

Photo Pam Dawling
Cabbage pest control
Using rowcovers or insect netting keeps many pests off the plants while they are small. We have not had much trouble with aphids, perhaps partly because of our overhead sprinklers; insecticidal soap sprayed three times, once every five days, can usually deal with them. Our worst pest is the harlequin bug. When necessary, we handpick them. Ladybugs are reputed to eat harlequin bug eggs.
Sometimes we have had enough cabbage worms to make Bt (Bacillus thuringiensis) necessary, but usually paper wasps eat the caterpillars. The action threshold is an average of 1 cabbage looper, 1.5 imported cabbageworms, 3.3 armyworms or 5 diamondback moth larvae per 10 plants. Below this level you can do watchful waiting rather than spraying with Bt or spinosad. Apparently paper or plastic fake cabbage moths on sticks will deter more from moving in. There are templates for homemade cabbage moth decoys online. The eyespots are important!

Photo Pam Dawling
We are also lucky enough to have the naturally occurring wasp parasite of cabbage worms, the Braconid wasp Cotesia species, which are found as small cottony white or yellowish oval cocoons in groups on brassica leaves. The Cotesia wasps like umbelliferous flowers, and overwinter on yarrow as well as brassicas. If you find Cotesia cocoons and your brassicas aren’t diseased, you can leave plants in the field over winter. Or you could collect up leaves with cocoons in late fall and store them at 32°F–34°F (0°C–1°C) until spring. Hopefully no one will clean out your fridge without asking.
To float out worms and aphids after harvest, soak the produce in warm water with a little vinegar for up to fifteen minutes, then rinse.
Harvesting cabbage
Our cabbage heads up from May 25 and some hold till July 15. For storage cabbage (a valuable crop in summers in warm climates with scarce fresh leafy greens), we set the cut heads upside down on the stump, in the “basket” of outer leaves, and come back an hour later to gather them into net bags. This allows the cut stem to dry out and seal over, improving storability.

Photo Pam Dawling


