
This is the story of when I learned the importance of a quality seed starting mix.
I used to purchase premium potting soil from my local garden store and mix in some worm castings or compost to create seed starting soil at home.
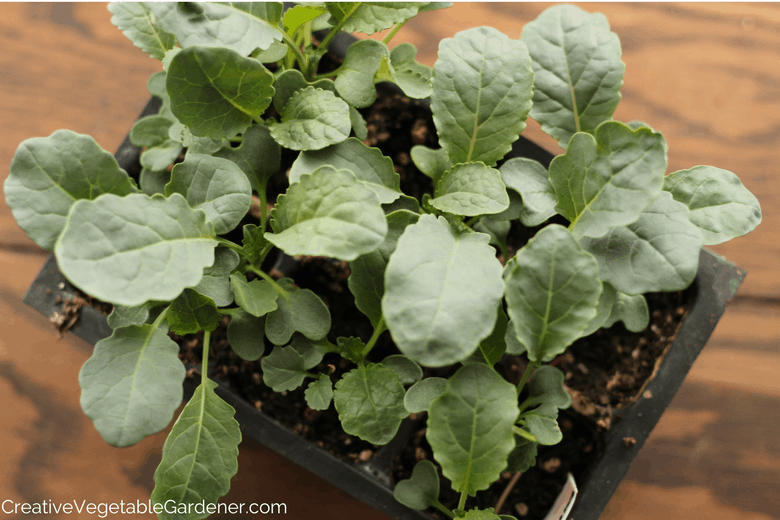
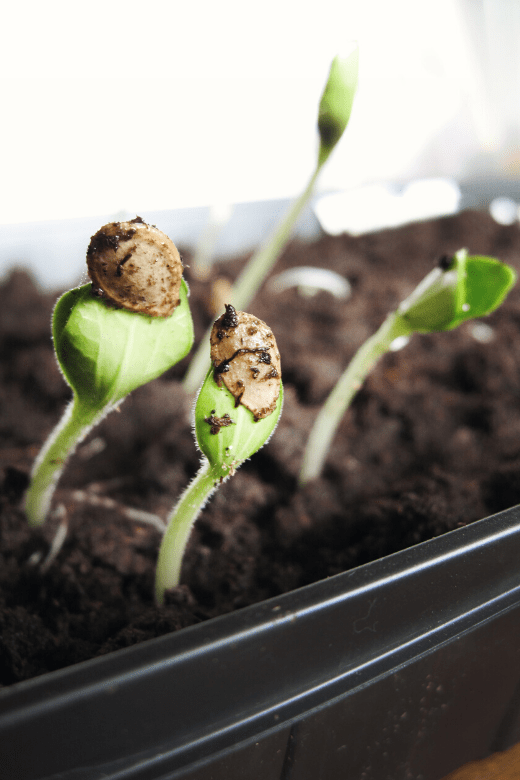
The seedlings started off well, but after six weeks or so they would begin to turn yellow. I knew this meant they had used up most of the nutrients from the soil in which they were growing.
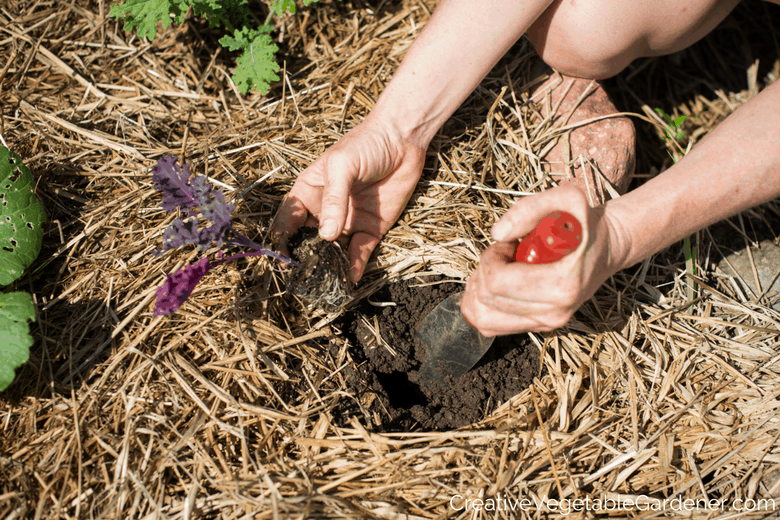
Sometimes I would nurse them along if they were going into the ground in the near future, but in the case of tomatoes and peppers, which get planted late in the season in Wisconsin, I would end up re-potting them (upwards of 70 plants!) into new seed starting soil.
This added a lot of work to my already busy spring gardening schedule.
Then, several years ago I was teaching a seed starting workshop with a friend who creates his own seed starting mix for his plants. He brought some of this homemade seed starter to class for our students to try out at home.
As we were packing up after the workshop, he gave me the leftover seed starter. I excitedly took it home and used it to start my seeds that year.
Fast forward to a few weeks later…I was amazed at how healthy my plants were compared to previous years when I used my bootstrap potting mix concoction.
This was the best seed starting mix I had ever used! There was no yellowing or signs of stress after six weeks – the seedlings remained a deep green color until it was time to transplant them into the garden.
I was so impressed that I vowed to change my seed starting mix the following winter.
But…I’m a minimalist when it comes to gardening and I don’t like things to be too complicated. Buying all of the separate ingredients that were in his recipe and storing them in my basement for many years seemed like a lot of work.
So, I set out to understand the components of the best seed starting mixes and find a more simple solution for making soil for my seedlings.
In this post, we’ll explore how to choose the best seed starting mix to ensure your plants are healthy and happy from the time they germinate until the day they get tucked into the ground.
This post contains affiliate links.
Understanding the Ingredients in Seed Starting Mix
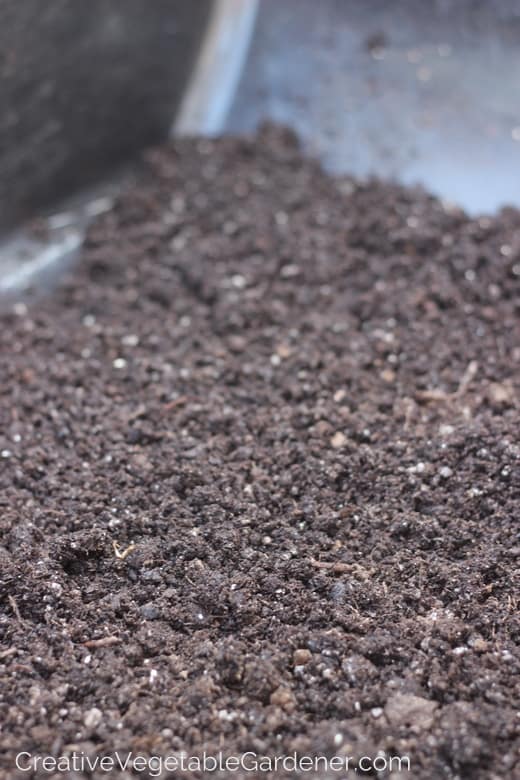
It’s important to understand the components of seed starting soil mixes and the roles they play so you know what you’re looking for when you go shopping at the store.
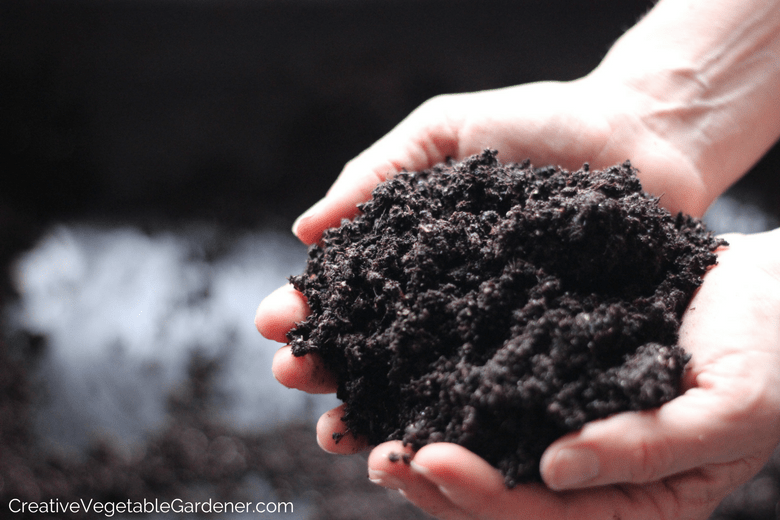
The best seed starting mix needs to skirt the balance between both water retention and drainage and also supply the plants with the nutrients they need to grow healthy and strong before going out into the garden.
This is a tall order from one bag of soil!
Here are the most common ingredients in seed starting mixes and the role they play:
Peat moss, coir and vermiculite help the soil retain moisture.
Perlite and sand facilitate drainage so the soil doesn’t remain too wet and cause disease or fungal problems.
Compost and amendments like blood meal and greensand supply various nutrients that plants need to grow and stay healthy.
Some people use soil-less seed starting mixes, like (Pro Mix) which have great drainage but don’t provide much in the way of nutrients.
When using a soil-less mix, once the seedlings develop their true leaves they need to be transplanted into a more substantial soil that provides more nutrients. I’m not a big fan of soil-less mixes because of this extra step. I don’t have time to re-pot all of my seedlings multiple times.
If you’re short on time, too, (or you just like to be efficient) your goal should be to have your seedlings stay in the original seed starter and remain nice and healthy until you plant them in the garden.
This is the challenging part because plants turning yellow is a common problem for many gardeners. As we talked about previously, this means they’re nutrient deficient. They likely used up all the nutrients in the pot or cell they’re living in.
This also means your plants are starting to get stressed. It’s not ideal to put stressed plants out into the garden because they’re more susceptible to insect, disease and weed pressures.
Now let’s talk about how to find the best high-quality seed starting mix.
What to Look for in Seed Starting Mix
First, let’s talk about what not to use.
Potting soil from your local nursery is not suitable for starting seeds. It tends to be a heavier soil, which may not allow the fine roots of newly germinated seedlings to make their way through the mix.
Potting soil is better used for indoor houseplants and outside decorative containers of spring and summer flowers.
Do not use soil directly from your garden. It also may be too dense for the delicate roots of vegetable plants and you might be importing pests, diseases or weeds.
Seed starting mixes are sterilized, so they won’t contain any weed seeds. Who the heck wants to have to weed their seedlings? Not me!
Okay, let’s move on to some tips for selecting the best seed starting mix when you’re shopping around. You can take a trip to your local garden center and browse the aisles, or shop online, it’s up to you.
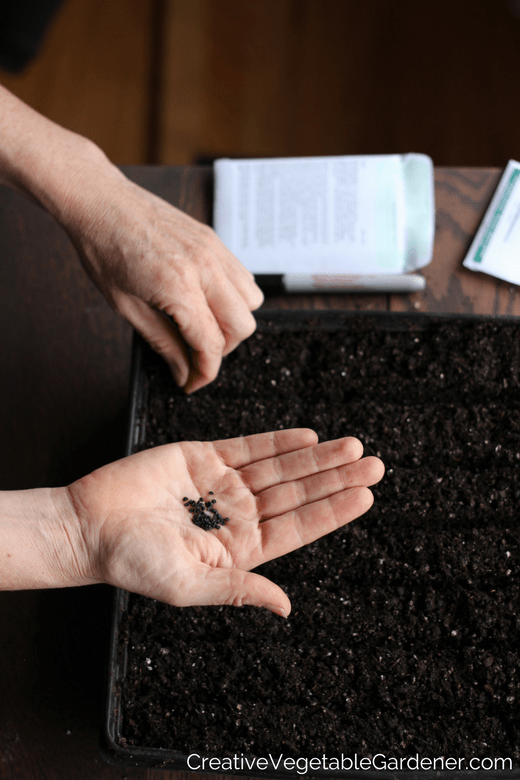
Step #1: Choose a seed starting mix.
As you’re walking down the aisle in the nursery or reading online, scan the fronts of the bags (or descriptions) to find one that says “seed starting mix” on it. Remember, you don’t want to use potting soil.
I’ll share some links below for recommended online sources of seed starting soil.
Step #2: Check the ingredient list.
If you’re at the store, flip over the bag of seed starter and find the ingredient list. Look carefully to make sure it contains things from each of the categories listed earlier in this post – moisture retention, drainage, and nutrients.
You should only purchase a product online if you’re able to read about the ingredient list.
Step #3: Choose organic.
You can also look for the word “organic” if it’s important for you to start your seeds with organic ingredients.
In the US, the label “OMRI Listed” means the ingredients have been reviewed and are approved for certified organic use. I often use this as a qualifier when choosing a product to buy for my garden. Read more and see the label they use here: Organic Materials Review Institute.
Step #4: Read the description.
This step is important because you don’t want to select a soil-less mix or something else that will require you to re-pot your seedlings once they’re germinated.
Some things to look for:
As an example, this mix from Coast of Maine looks to be of very high quality. The description shares what’s in it, rich mixture of blended sphagnum peat moss, perlite, kelp meal, worm castings and well-aged compost and even tells us it’s OMRI listed for use in organic gardens. That hits the three categories we’re looking for – peat moss for moisture retention, perlite for drainage, and minerals for nutrients.
Step #5: Read the reviews or ask for recommendations.
If you’re shopping online you can read reviews from other gardeners to get a sense of what they think about the mix and how it performs for them.
If you’re shopping at a local nursery in your town, find a salesperson and ask them to explain the different choices for seed starting soil and the pros and cons of each.
If you take all of these factors into consideration there’s a very good chance you’ll end up selecting the best seed starting mix available to you. If you like garden experiments, you could buy two or three different mixes and test them against one another to see which one you like best.
Recommended Seed Starter
The products you find at your local garden store or online that fit the criteria we’ve talked about might be a little more expensive than you’re used to. But spending a few extra dollars will add up to less work (not having to re-pot) and more vigorous seedlings.
Healthier seedlings mean they’ll perform better when they’re out in the garden in spring. It’s definitely worth it!
For Madison, WI area gardeners
In my seed starting process, I use a mix from a local farmer who has a business selling vegetable starts in the spring. I often see him at the farmers market and his seedlings always look vibrant and healthy.
And, he sells his seed starter in bulk, so I can bring my own containers and not have to buy plastic bags.
If you live in my area, you can find more information about buying straight from West Star Organics here. They also sell their mix in bags in garden centers around Madison.
Another recommended seed starting mix for local gardeners is Purple Cow Organics Seed Starter Mix. They’re a reputable company that works closely with organic farmers around the Midwest. I’ve used their mix in the past and have been very satisfied with it.
Find it online here or in garden centers in the Madison area.
For the Rest of You Lovely Gardeners
I read about several organic seed starting mixes on Amazon and here are the most promising. Of course, you’ll have to test them yourself and see what you think.
Coast of Maine Organic Seed Starter
Purple Cow Organics Seed Starter Mix – this is a local Madison company that’s reputable and works closely with organic farmers around the Midwest. Their listing doesn’t have a lot of information, but you can read more about this product here.
Espoma Organic Seed Starter Premium Potting Mix
DIY Seed Starting Soil
If you like the idea of making your own seed starting mix, there are lots of different recipes and methods online. Browse around, experiment, and see which one you might like to try.

Fellow garden blogger, Stephanie Rose from Garden Therapy, just released a fun book with several different DIY recipes for soil mixes and fertilizer teas.
Should You Use Fertilizer?
When you use a high-quality seed starting mix, you may find that you don’t need to fertilize your seedlings. If my plants are dark green and lush, I don’t worry about extra feeding.
If they start to turn light green to yellowish, I might give them a few waterings with a kelp or seaweed fertilizer.
When seedlings first germinate they’re very tender and vulnerable. Don’t feed them any fertilizer for a few weeks while they get established or you could burn them.
After their true leaves, or second set of leaves, emerge and they start to look more hardy and vigorous you can feel confident that fertilizing won’t harm them, but benefit them instead.
Make sure you’re using a gentle fertilizer like kelp or seaweed, not a harsh chemical fertilizer.
I like this brand: Neptune’s Harvest Fish and Seaweed Fertilizer
Make sure you purchase liquid kelp so you can mix it into your watering container. Kelp also comes in granular form, which is better mixed into the soil of your garden beds.
Additional Seed Starting Resources
Want help successfully growing your own plants this year? My how-to video series, Super Easy Seed Starting, can be watched at your own pace and includes printable handouts, templates, and checklists.
The videos are all filmed in my own seed starting laboratory (a.k.a. my house) and walk you step by step through the process of starting and caring for your own seeds at home. Read more about it here.
First, figure out exactly when to start seeds indoors in zone 5 or beyond. Find out how to choose grow lights for seed starting and how to build your DIY grow lights. Then read about tips for how to germinate seeds successfully.
You can find all of my favorite seed starting supplies, and much more, in my Amazon storefront.
The New Seed Starter’s Handbook is the classic seed starting bible! I’ve had it on my gardening bookshelf for many years. Grab a copy here.
If you can relate to my story at the beginning of the post – yellowing seedlings that don’t look very healthy – it’s time to change it up and use the best seed starting mix you can for your plants.
Whether you make your own or purchase a ready-made mix from the store, I’m confident you won’t regret investing a little more time and money in this part of the process.
When you see how vigorous and happy your seedlings look during the weeks after they germinate and before you tuck them into their permanent home in your garden, you’ll be as amazed as I was the first time I upgraded my seed starting soil!

